Router Table Top

The first step in building the rotuer table is to build the top.  The easy way would have been to just get a piece of pre-made counter top and cut some slots and grooves in it.  But that wouldn’t have been as durable, or as much fun.  Instead the plans call for a 3/4″ MDF board, screwed and glued to a 1/2″ MDF board, trimmed in oak, with a piece of High Pressure Laminate (Formica) glued on top.

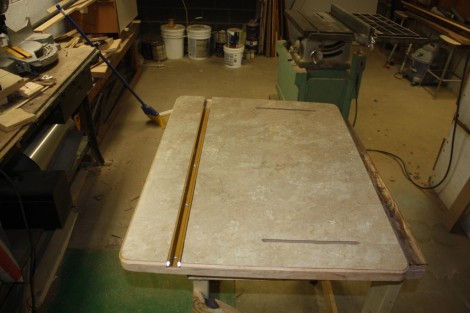
Lowes didn’t have any 1/2″ MDF, so I used plywood for the bottom, which I’m hoping will provide a more stable base.  They also didn’t have any white laminate, so I settled for this rather dull looking piece instead.  It gets glued to the top with some contact cement, and then the edges get chamfered to smooth them out.  Next I used a straight cut bit to make some channels to hold down the fence, and I used a dado set to cut the groove for the miter track.  I should have gotten the blue track, or a different color top, as it doesn’t really look very nice, but it should work quite well.

Router Table Supplies

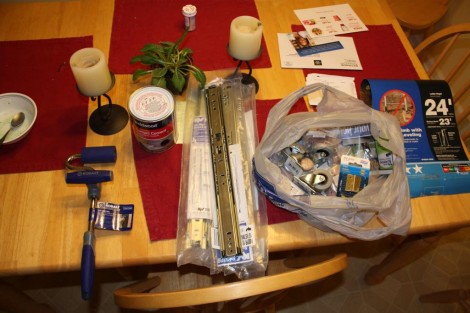
I’ve begun a new project, and of course the first step is to buy stuff!  This picture shows the plethora of hardware that is required to build my new router table.  I got the idea for this project after borrowing a friends tbale, and realizing it would be quite useful.  I got the plans from the New Yankee Workshop, so its a Norm Abram’s special.  The dvd and the plans were only 30 bucks so that I considered money well spent.  However these supplies plus the 4 or 5 sheets of plywood/MDF that are needed to build the table ring in at ~$350.  Keep in mind thats not including the router itself, the $75 ‘heavy duty’ Rockler router plate, or the $85 hardware kit.  Also keep in mind that you can by a commerical router table for $300 or so.    Of course its not about saving money, its about the fun of building my own table,  as well as hopefully getting a higher qualitly table.

Sawhorse

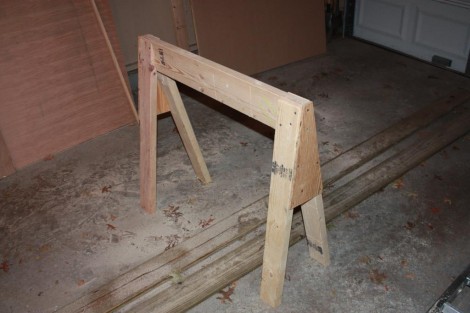
I’ve started work on a new project, that I will of course detail in a plethora of upcoming posts.   The first step of that project however was to cut some 4×8 sheets of plywood and MDF.   My table saw isn’t up to cutting full sheets like that so I’m regulated to using a circular saw.  For that I needed somewhat to support the wood, which led me to build a sawhorse.  I had already built a sort of table stand thing a few months ago (it can be seen in this post), so I only needed to build a single sawhorse.  I had some nice scrap 2×4’s laying around, so I used them for the legs, a scrap of plywood for the gussets on the side, and a nice big 2×6 scrap for the top.   I’m quite happy with how it turned out, I made it the same height as the table so I can use them together, and with the nice thick 2×6 top I don’t have to worry about running the saw through it.

Pressure Washing the Patio

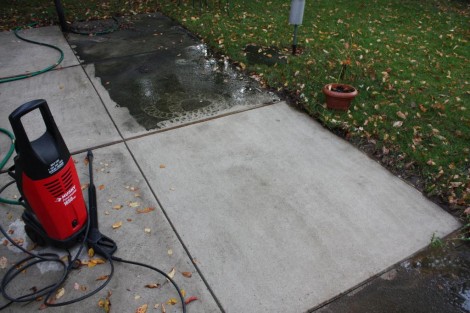
Cleaning the patio never really occured to me until one day I was messing around with the hose and noticed that it looked alot whiter after spraying it in one spot for awhile.  Of course the hose wasn’t really strong enough to clean it well, what I needed was a pressure washer.  My friend Greg recently got one and was kind enough to let me borrow it.  The difference it made was amazing.  After a few hours my patio looks brand new.  The only problem is that now I need to edge it, which of course means I need to buy an edger.

Fireplace Door

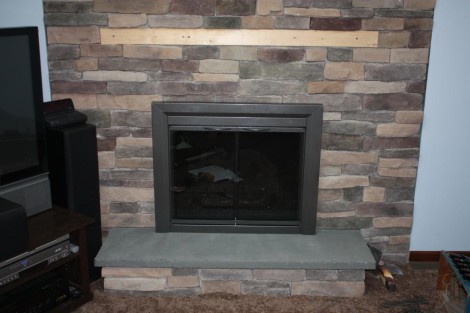
Since we decided not to mess with the firebox, nor replace the rather ugly gas logs, we got a nice door to cover it instead.  The door with its tinted glass looks a lot nice than the bare fireplace did, and hides the old brick as well.   Choosing a door was a bit of a scare.  We first went to a specialty fireplace store, and while they had some very nice doors, the cheapest was at least a grand.  Far more than we were looking to spend.   Fortunately,  Lowes had a handful of doors for around $250, and we liked this one just as well as any of the far more expensive ones.  I’m finding that this is frequently the case, a specialty store will have a better selection, however everything is an order of magnitude more expensive than Lowes, and the quality doesn’t seem to be significantly better.  Installing the door over the stone veneer was a bit tricky, but I was able to screw it directly into the brick without to much trouble.

Cutting Trim

I’ve been a bit lax in working on the family room lately, for a variety of reasons.  Firstly we moved the couch and the TV into the room, which of course meant that I could now relax and enjoy my new skylights.  Second, the new TV season has come around and laying on the couch watching TV just seems like more fun.  Regardless last night I finally got off my duff and starting working on the 2nd part of the trim work.  This includes the extension jams for the window, as well as the trim that goes around the pass through to the kitchen.  It’s all been cut, sanded and has a coat of stain on it now.

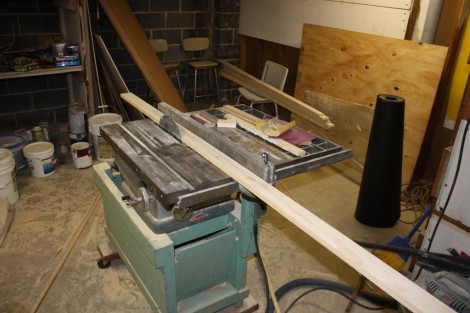
I’ve been using this sturdy Craftsman tablesaw, that used to be my grandfathers.  My mother tells me that he quit smoking for a year to save up for it, and I figure its getting near to 50 years old now.  I bought a nice new blade for, and it works pretty well, however the blade does seem to wobble a bit.  That means the cuts need a bit of sanding afterwards.  I’m not sure if this can be fixed or not, but I’m going to poke around abit and see.

Carpet!

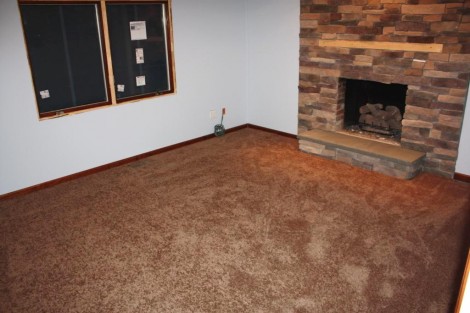
The last thing to happen with the familiy room before we went on our vacation was the carpet.    Choosing our carpet turned out to be the easy part, finding a place to buy it turned out to be quite hard.   After hearing some bad stories regarding the Lowes/Home Depot contractors, we deceded to get our carpet from a dedicated flooring place.  Our quest began at the closest carpet store, Avalon Carpet, Tile, and Flooring, in Cherry Hill.   There we looked at all the carpet and quickly decided on some SmartStrand carpet from Mohawk.  Everything about this carpet seemed perfect, it felt really soft, had great wear ratings, and was supposed to be very stain resistant.  The SmartStrand fiber is made from corn, so its even more environmentally friendly.  After talking with the saleswoman we got a quote for about $2,000.

This seemed rather expensive to me, but we really liked the carpet so I wasn’t overly concerned.  I did however think that we should go to another store just to check and make sure we didn’t see anything better.  Therefore we went to Kepple’s Carpet in Marlton.  After looking around a bit we didn’t see anything we liked better, and since they had the same carpet, we asked the salesman for a quote on that too.  Well he ran the numbers and came up with about $1500.  I thought this was great, the exact same carpet, and its alot cheaper too!  We were sold, but Jess wanted to think about the color for a little while, so I told the salesman we wanted to think about it.   He seemed to take this to mean it was to expensive, and after offering to show us other options which we declined, he got rather rude and irritating.

Jess and I left with a bit of a conundrum.  We didn’t really want to deal with that salseman, but we also didn’t want to pay an extra $500 for the same thing.  We spent the next few weeks stewing about it, and trying to find another store to go to.  Turns out there really weren’t any other carpet stores in the Cherry Hill area, and the next closest place was like 20 minutes away.  Being from New Jersey I’m used to everything being around the block and I was worried the store that far away wouldn’t want to come all the way down to install the carpet.  We warily drove up to Carpet Dimensions & Flooring, where we met with Rob, who couldn’t have been nicer.  Not only that, but the quote he gave us was for $1100.  We immediately signed up, and he was even nice enough to let us take the sample board home so we could choose a color (we ended up with Cigar Shop).  He came buy a few days later to measure, and then called to schedule the installation.   The guys came by and did a great job with the install, and we quite happy with it.
Electric Skylight Shades

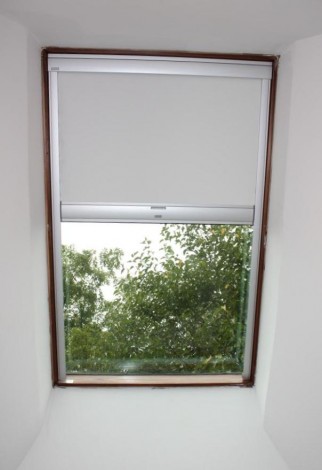
Our family room will be doubling as our home theater. Because of this the lovely skylights that we put in, which do a wonderful job lightening up the room, can also make the TV hard to see or make ugly glares on it. To combat this when we ordered our Velux skylights, we also ordered a pair of solar powered electric shades for them. These were quite expensive, about $300 a piece (only a few dollars less than the skylights themselves) so I hope we like them. We could have gotten manual ones, but they didn’t offer any full light blocking ones, and I think its gonna be really cool to lay on the couch and close the blinds. The shades work wonderfully, completely blocking even direct sunlight (technically I think its 98% but close enough). They were also easy to install, with the very easy to follow instructions, which oddly reminded me of those included in a Lego set.

Baseboard

While I was busy spackeling, sanding, and painting, Jess was hard at work cutting, staining and sealing the baseboard and the door trim.   As soon as I was finished painting, I was then able to install all of the trim in just a few minutes, thanks to my brad nailer.  The trim has two coats of American Walnut stain on it, and then three coats of Minwax Wipe-On Polyurethane.  I was very happy with the Wipe-on Poly.  Its extremaly easy and fool-proof to apply, and although it needs multiple coats, it can be done with just a rag and doesn’t show any brush strokes. However it is rather expensive, and after reading up on it, I’ve learned that it is just regular oil based polyurethane thinned with mineral spirits.  Next time I will probably by the much cheaper regular polyurethane and thin it myself.

Paint!

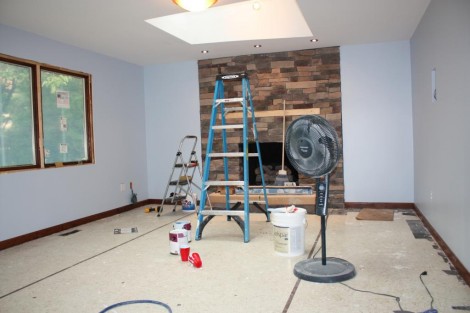
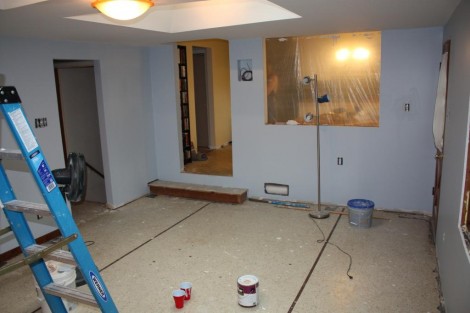
We’ve been on vacation in Seattle (pictures will be up soon!) for the last two weeks so I haven’t made any updates to the blog.  However before we were gone I was able to paint the family room.  We (and by we I mean Jess, while I smiled and nodded) choose a nice blue color.  I think it looks pretty good, and should look great with the dark brown carpet and the dark wood trim.  It should also keep the room nice and bright, which is a concern since the old room was so dark.  This time around we used the Behr paint from Home Depot.  No real reason than them having a paint chip that Jess liked.  Bonus was that it happened to be on sale when I got it.   So far I’ve used both the regular and the premium Valspar paints from Lowes, as well as the Regal paint from Benjamin Moore.  I think the Regal paint was the best, but the Behr seems next best.