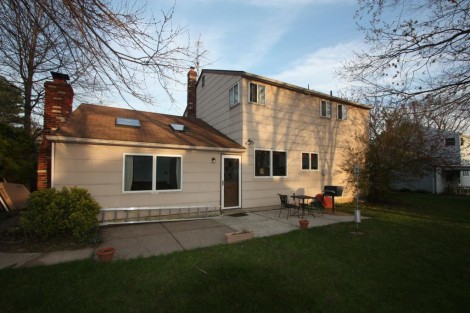
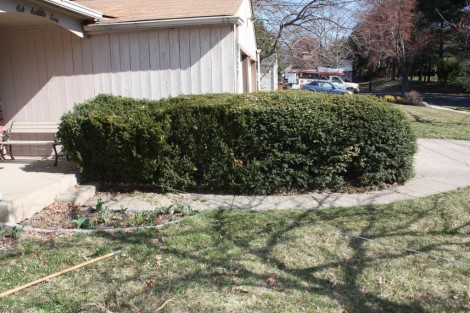
 Painting the house is going to take me something like 40 or 50 hours to do, and I don’t want to do it again if I can avoid it. Considering that the most expensive paint is only going to cost about $100 more than the cheap stuff, price isn’t really an important factor here. That being said I don’t want to throw away money for no reason either. Lookign online, I couldn’t find any scientific third-party tests of paint. The only place that comes close is Consumer Reports, who’s testing is of questionable accuracy, but at least they try. Unfortuantly at the time they hadn’t finished testing the current formulations, and so they weren’t much help. They did seem to indicate that all the top brands were pretty good, and aas long as you stayed away from the economy stuff there wouldn’t be much differance.
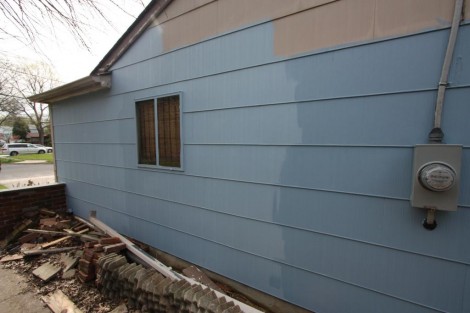
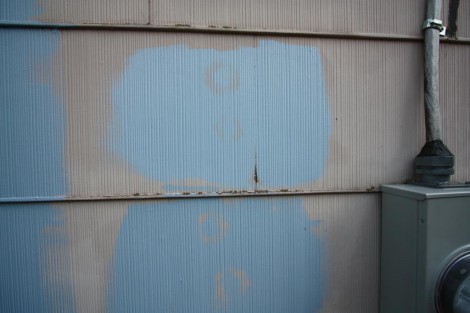
I therefore decided to buy a gallon of the Duramax, and a gallon of the Ultra-Premium (which despite its name is acutaly the cheap one) and see if I could tell the differance. I painted 50 sqft of each, and they seemed pretty much the same, with the Duramax seeming to be slightly better at covering the gaps between shingles. I then decided that I’d see how well each held up to a pressure washing. I took the wand, and held it just an inch or two away and timed 30 seconds on each of the samples, the results of which are shown here (with the Duramax on top). The painted wasn’t really dry with the Ultra Premium having about 4 horus of dryign time, and the Duramax, just two, but they still held up remarkably well. The Duramax however seemed to have a slight advantage in the crevices.
I therefore decided that between my admittly not very thourough testing, and the claims Lowes makes (particualrly the self-priming part, since I wasn’t planning on priming) that I would go with the Duramax. I won’t know if this was worthwhile for another 20 years or so, but hopefully I’ll be happy with it.
UPDATE: Consumer Reports just released their full testing, and gave the Duramax Satin a 62 (the highest was just a 64) and the Ultra Premium scored a 58 on the random ‘we jsut made this up’ CR scale. So they too agree that the Duramax is slightly better.
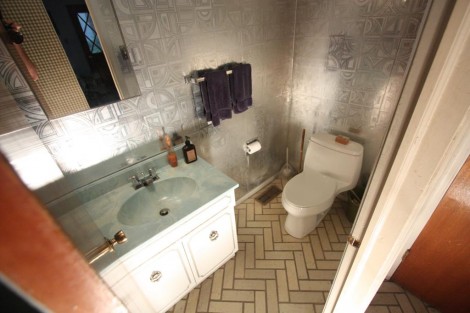
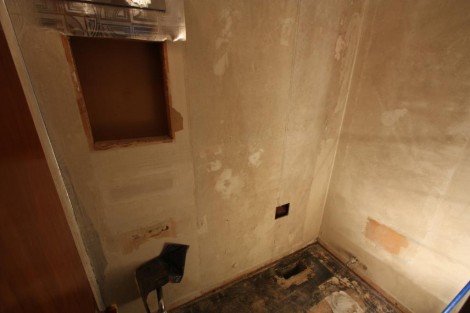 Spent a couple hours last night gutting the powder room. Takign out the increidbly cheaply built vanity, and medicine cabinet. The good news was that with the shiney metallic wallpaper, it was quite sturdy, so I was able to pull it off the wall without a problem. Also took the toilet out, which we will be keeping since its pretty new and we like it. The fake tiles on the floor pulled up with no problem, and the linolem tiles underneith also came up without an issue. There is some black adhesive still on the floor, but it seems well attached so I’ll probably jsut leave it.