Vanity Mockup

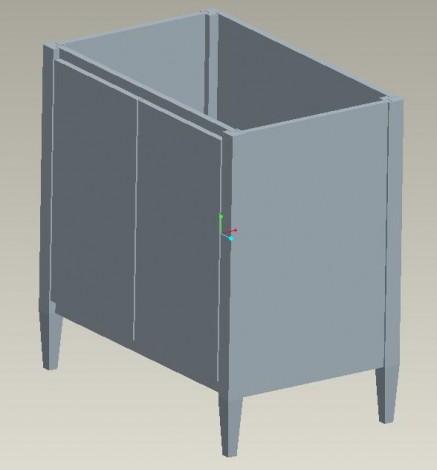
vanity-modelAlthough I’ve watched enough New Yankee Workshop to make me feel like a woodworker, I haven’t actually built much since high school shop class.   Therefore I can’t just go out without a plan and start cutting wood, and since I didn’t find any published plans for a bathroom vanity that looked liek what I want, I decided to make my own.  Using a CAD program I’ve mocked-up what the vanity will hopefully end up looking like.  I’ve been able to get some good dimensions and figure out where all my cuts need to go.

New Project, Bathroom Vanity

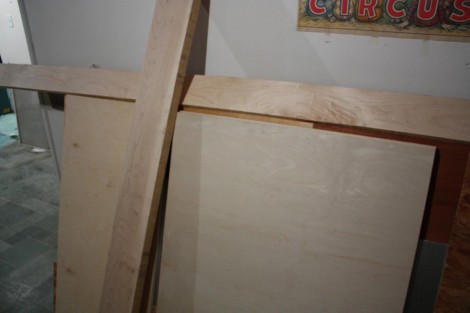
woodThis might not look like much, but soon it will be our new vanity.   I’ve decided that instead of buying the vanity to go in the powder room that we will be redoing shortly, I would instead build it from scratch.   There were a couple of reasons for this.  First off we were having a hard time finding a vanity that we liked, in the color that Jess wanted.    In addition, the ones that we did like were all to big for the tiny bathroom.   We probably could have found a nice one in the right color at the same store we purchased the cabinetry for our other bathroom.   However then we would ahve run into the price issue.  Not counting the countertop, the vanity was almost $1,000.  I did some estimating and decided that the wood and supplies if I built it myself would only cost about $300.  This means that I had $700 left over to buy new tools!  Well not quite, but I did buy a pocket screw kit, and a planer to help make the project.

Mantle Shelf Complete

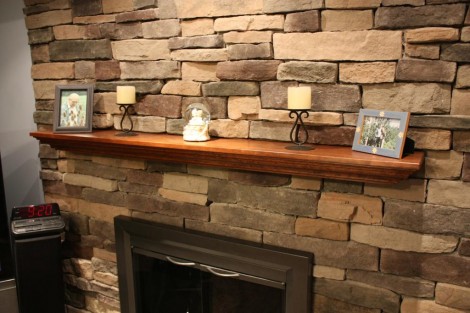
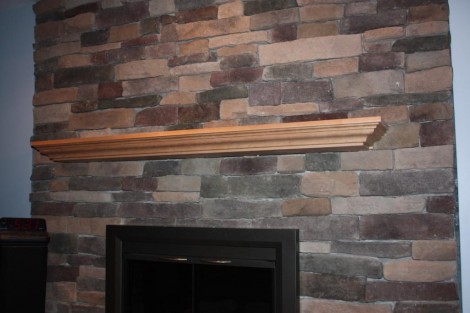
mantleWith the completion of the mantle shelf, the family room is now complete.  I’m quite happy with how the mantle turned out, this picture (shot at night with no flash) doesn’t do it justice.  The cherry wood was stained with two coats of  American Walnut Minwax stain, to match the rest of the trim in the room.  Three coats of Wipe-On Poly were then put on to protect it and give it a bit of a sheen.   I really like the Wipe-On, as it is incredibly easy to use and leaves a great finish.  However it is quite expensive, and I’ve read it is just regular oil based poly that has been thinned down.

New Opener

newgarage1

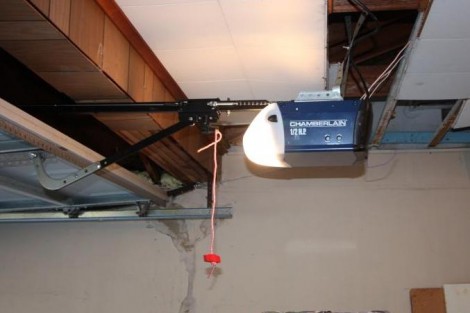
As I stretch a 2 hour project into three blog posts,  I finally get to talk about the opener that we choose.  I looked at a couple of reviews, and decided to get the 1/2 HP Chain drive Chamberlain.  It was also the cheapest one that Lowes had.  Since we have a non-insulated plain steel door, its quite light and doesn’t need a big motor.  The bigger motors also supposedly go a bit faster, but I’ve never been annoyed by how slow the old one was so I saw no need for it to go faster.   The more expensive openers also use different drive methods, either screws or belts instead of chains.   Chain drive is the loudest of those, but I actually like a loud opener as it lets me know when Jess comes home.   We got a Chamberlain after hearing that they had excellent instructions, which I  concur with  as they were extremely easy to follow.  All in all we are quite happy with it, and hopefully it will last much logner than the old one did.

Installing the Garage Door Opener

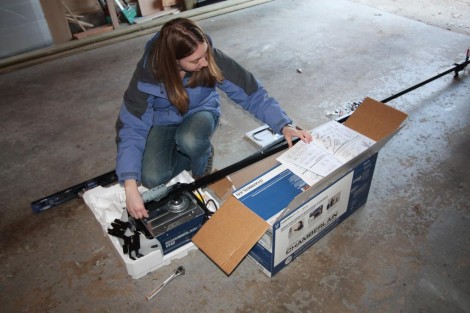
jess-garageThe installation of the new garage door opener was pretty straight forward.  The Chamberlain opener we got came with some great instructions.  So while I was busy removing the old one, Jess was able to assemble the new one.   With just a bit of help from me, she had it all put together, and then all I had to do was bolt it to the ceiling.  The only thing that remained to do was the irritating saftey eye that stops the door from closing if anything runs in front of it.  I’m assuming this is a law, because the  door won’t even work without it installed.  Fortunately they make it very easy to install, or at least it would be if we had the standard size door tracks.  Since we didn’t it was a bit harder, but still not difficult.    Running the wires was the most difficult part of the whole install.  All told it took about an hour to put up.

Replacing the garage door opener

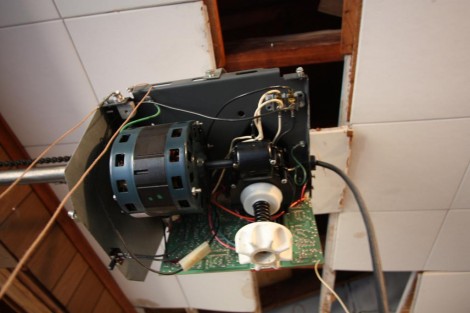
old-garage

The opener for Jess’s garage door had problems almost as soon as we moved in.  Despite not being that old, the Stanley opener stopped working just a few weeks after we bought the house.  When it was activiated, the light would just start blinking, instead of  opening. I was feeling quite poor at that point and didn’t want to replace the whole thing,  so after talkign to my dad and a few other knowledgeable folks, the consesnous was that the starter capacitor for the motor had gone.   Checking Ebay, I found a replacement for 8 bucks, and swapped it out.  Happily this fixed the problem and everything was fine for a year or so.

Then the door would hit the ground, and attempt to keep going, making a loud banging noise, and shaking everythign violently.  I adjusted the stops, and that fixed the problem, for awhile anyway.  A few weeks later it happened again, and after lookign a little more closely, I realized that the stops were borken, and wouldn’t hold their position.  In addition, the switch that was supposed to stop the door if the load got to high was also broken.    After futzing with it a few more times I finally decided to replace it.

Mantle’s almost done

mantle-before-stain

After alot of careful planning the mantle shelf is just about finished.   Once it was all planned out, the acutal building wasn’t too difficult.  I cut the boards down to size, used a buddy’s planer to surface the boards, followed by a bit of hand sanding.  The assembley was easy enough although a pair of errant shots with the nail gun made life a bit difficult.  It looks great as is, but to protect it (and because the wife wants it to match the rest of the trim) I still need to stain it and put some poly on it.  I was hoping to have it be strong enough that a little kid could hang off it, but since its a 9″ board cantilevered straight out I’m not sure its that strong. It will however easily support anything we’d want to put on it.

Mantle Shelf Design

mantle-mockupsThe design for the mantle shelf started many months ago when we first were figuring out what we wanted to do to the fireplace.  Jess and I decided that we didn’t want a full mantle as that would be too formal for the family room.  Instead we decided that we would just do a relatively simple mantle shelf.  Jess had a pair of little pre-made knick-knack shelves and we decided to get something similar to those.   Therefore I cut a 2×4 to the right size, and bolted it to the wall before we put up the stones around the fireplace, and then pretty much forgot about the shelf until everything else was finished.

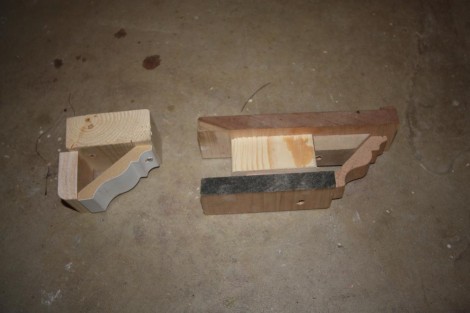
With the family room just about complete I started lookign into shelves, and found that although I could find some that we liked online, they weren’t going to be the right size, and were extremely expensive.  I gave it some thought, and after realizng it was basicly just going to be two boards with a piece of molding on the front I decided to build my own.   The first step was to build a mockup showing that I could get something decent looking.  Thats the one on the left, which I slapped together in a few minutes to make sure that Jess and I were on the same page before I went and bought some wood.  After I bought the wood I then had to figure out how to put it all together without any obvious fasteners, while still being strong enough for a little kid to hang off of.

I built the 2nd mockup to try out some different techniques, as well as to determine the proper spacing between the various parts.  The final design I came up with was a 3/4″ board with a 45 degree bevel on the front.  I then screwed through that into the molding, and also through the back of it into the top board.  This provided a stong joint with no fasteners showing.  To support the board, I cut a 4×4 down to about 3″ thick,  and screwed through that into the top.   The bottom was then screwed into this board as well, so that the only visible fasteners would be on the underside, in the back, where no-one would acutally see them.
Mantle Shelf Pt-1

mantle-shelf-parts

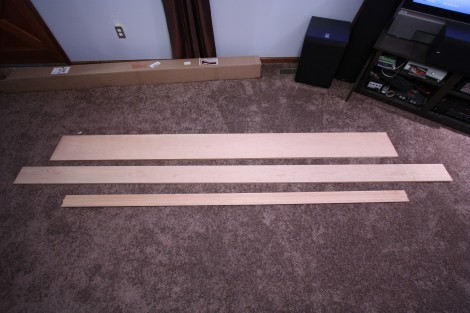
To cap off the fireplace we needed some sort of mantle.  We decided taht a traditional mantle would look to formal with the stone we had chosen to surround the fireplace, so we instead decided to use just a mantle shelf.  After a bit of searching, and lots of thinking I decided to just build one myself instead of trying to buy one.  So the other day I went out and bought some nice cherry wood to build it out of.   It’s a pretty simple design, basicly just a shelf wrapped with crown molding.  The molding was initially a problem, since I don’t have a shaper to make my own.   After a bit of searching I was able to find a company in Ohio, Baird Brothers,  that had some beatuiful cherry molding that was actually pretty cheap.  Of course UPS charged more than the molding cost to ship it, but none the less its a great looking piece of wood.  Now its just up to me to assemble it and figure out how to attatch it to the masonary wall.

Router Table Fence

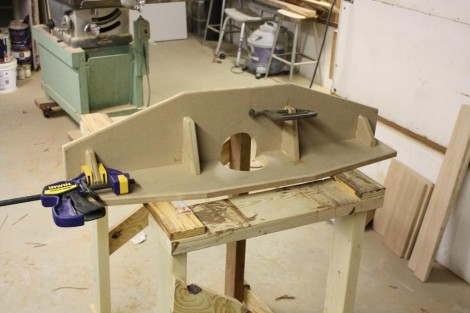
To guide the piece through the router, a sturdy fence is needed.  The New Yankee plans call for the fence to be made of MDF, which I assume is due to its stability.  The fence needs to be perfectly perpendicular to the router table, or the project might rock between them.  After cutting the pieces out of the sheet of MDF,  a round hole needed to be cut for the bits to stick through.   After making the rough cut with his sabre saw, Norm uses his fancy oscillating spindle sander to clean it up.  Since I have no such sander my cutout is a bit lopsided,  however it should work fine.  I chamfered the edge to allow the dust and chips an easier escape,  and also rounded over all the corners to make it easier on the hands.

The fence is put together with glue and screws.  Despite pre-drilling the screw holes with the proper size bit, I still managed to split two of the gussets.  I forced a bit of glue in the crack, and then clamped it shut (as seen above) and that seems to have held.  Next up I need to add a few adjustable pieces covered in laminate for the face of the fence, as well as some bolt holes.