Electric Skylight Shades

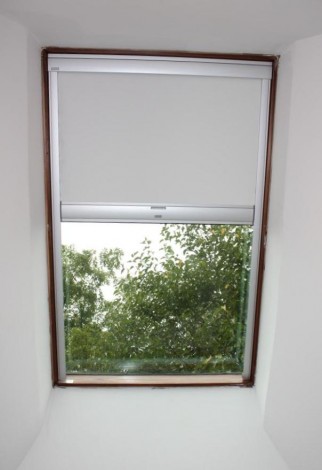
Our family room will be doubling as our home theater. Because of this the lovely skylights that we put in, which do a wonderful job lightening up the room, can also make the TV hard to see or make ugly glares on it. To combat this when we ordered our Velux skylights, we also ordered a pair of solar powered electric shades for them. These were quite expensive, about $300 a piece (only a few dollars less than the skylights themselves) so I hope we like them. We could have gotten manual ones, but they didn’t offer any full light blocking ones, and I think its gonna be really cool to lay on the couch and close the blinds. The shades work wonderfully, completely blocking even direct sunlight (technically I think its 98% but close enough). They were also easy to install, with the very easy to follow instructions, which oddly reminded me of those included in a Lego set.

Cornerbead around the skylights

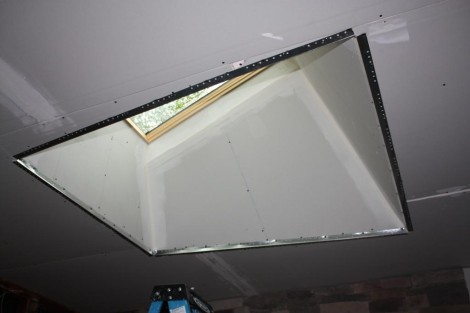
Well I haven’t been able to get much done on the family room in the last two weeks since I was getting ready for a friends wedding.  However now that he is all happily married and off jaunting around the Mediterranean on his honeymoon, I get to go back to work!  I’ve started with finishing the drywall on and around the skylights.  I already put a layer of joint compound on the inside corners, and now its time to do the outside corners.  I’ve added some metal corner bead on them to keep the corners looking straight and sharp.  Next I’ll cover them with a few coats of mud, and then sand them up.

Sheetrock on the Skylights

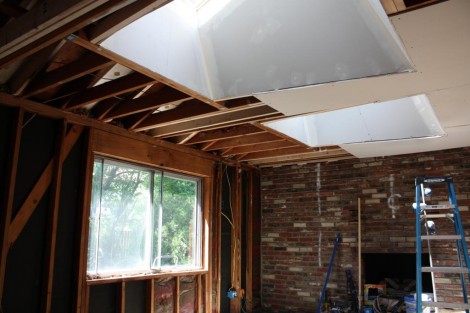
I’ve begun putting up the sheetrock in the skylight ‘tunnels’.  Cutting all these different pieces was quite the pain.  On most of the pieces there were no 90 degree corners, and out of the four sides, three of them require using more than half of a 4×8 sheet.  Of course I forgot about these tunnels when I bought the sheetrock a few months ago which means that even though I got five or six extra sheets, I’m probably going to run short now.

The tunnels also get extremely hot, since they are sitting right in the attic and the sheetrock traps all the hot air.  This makes me wish we had gotten the venting skylights.   Work will undoubtedly slow down now that I’ve hit the dull sheetrocking stage.  The taping of the seams is not a very fun task so I won’t be as interested in doing it, and therefore it will end up taking forever.

Skylight Tunnel Framing

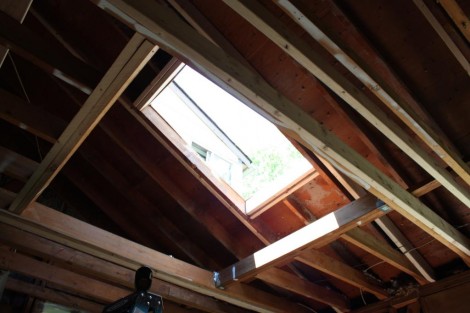
I decided to wait until the skylight was installed to finish framing the ‘tunnel’ through the attic.   The framing is really just there to support the Sheetrock that will be going up.  Since it doesn’t have a real structural purpose, it didn’t matter when I did it, and I wanted to make sure the skylight looked proper before going ahead with the framing.   Doing the framing was more difficult than I was expecting.   I hadn’t realized just how much lumber would be required to adequately support the drywall.  In addition to the sheer number of studs I had to add, a number of them were at complex angles require multiple measurements and tricky cuts.  Fortunately between my compound miter saw, and my circular saw I was able to cut all the pieces quickly and accurately.

Skylight!

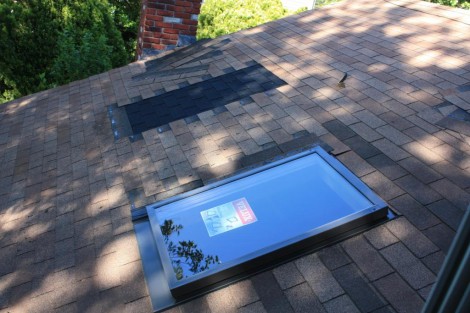
As you can see, one of the skylights has been added, and I’ve started the work for the second one. The ‘Self Flashed’ Velux skylights that we got are very easy to install. Once the shingles are removed from the roof, and the rough opening is cut out and framed up the skylight just drops in.  This is a two person job though, and my friend Marty did an awesome job helping me with it.   Velux includes some nice positioning blocks that allow you to make sure its aligned correctly, and then you just hammer some of the provided nails into the roof. After that you just have to put the shingles back on and thats it.

Alot of our friends and family have expressed concern that the skylights might leak. I, however am not concerned as the Velux skylights have three separate barriers against water. Any one of these should be sufficient to prevent leaks. The first is the metal flashing that gets layered underneath the shingles. This is the main line of defense and I can’t really see any water ever getting passed it. After that though, is a rubber flashing that extends a further 6″ beyond the metal. lastly around the rim of the rough opening a rubber gasket will still prevent leaks even if these other two barriers fail.

Hole in the roof!

Normally a  big hole in the roof would be considered a bad thing, but in this case its in preparation for the fancy new skylights we’re putting in.  I spent the weekend re-framing the opening, adding headers and sistering in some new rafters to support the load after the existing ones were cut.  Having all the right tools made the work pretty easy.  I used my wonderful Dewalt circular saw for most of the cuts, and used my 50-year old table saw to angle a few of the beams.  By far the most useful tool was the pneumatic framing nailer.  I probably could have done it all with a hammer, however I would have been exhausted and it would have taken twice as long.