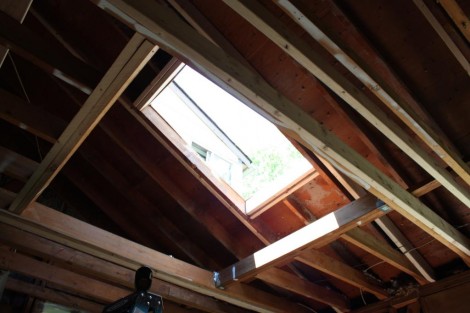
I decided to wait until the skylight was installed to finish framing the ‘tunnel’ through the attic. The framing is really just there to support the Sheetrock that will be going up. Since it doesn’t have a real structural purpose, it didn’t matter when I did it, and I wanted to make sure the skylight looked proper before going ahead with the framing. Doing the framing was more difficult than I was expecting. I hadn’t realized just how much lumber would be required to adequately support the drywall. In addition to the sheer number of studs I had to add, a number of them were at complex angles require multiple measurements and tricky cuts. Fortunately between my compound miter saw, and my circular saw I was able to cut all the pieces quickly and accurately.
Categories
Links
Projects
April 2024 M T W T F S S 1 2 3 4 5 6 7 8 9 10 11 12 13 14 15 16 17 18 19 20 21 22 23 24 25 26 27 28 29 30

