Grouting

grouted.JPG

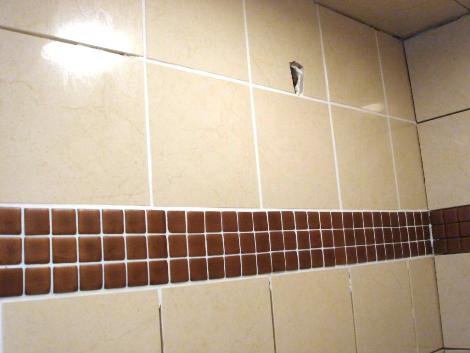
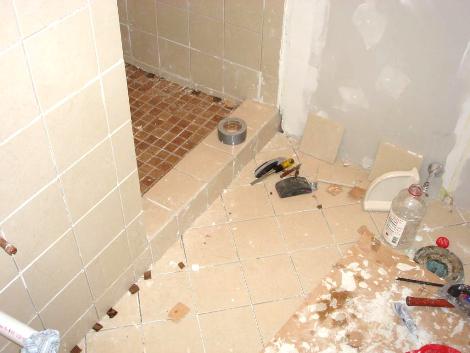
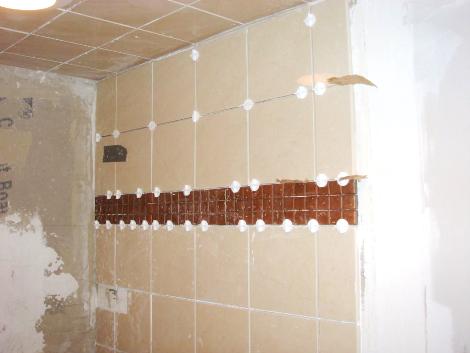
With the tile all laid, we started doing the grout.  We’re using an epoxy grout, specifically, Laticrete SpectraLock Grout.   I was quite nervous to do the grouting, as I’d never done it before, and really didn’t want to mess up our wonderful tile.   After reading about the SpectraLock all around the web (especially over at the John Bridge Tile Forums) it seemed like the best choice and sounded pretty easy to install.   It went  up pretty easily, all though it was a very time consuming process.  I pretty much followed the instructions, although I used a micro-fiber cloth to clean up the grout haze.   I did end up dropping alot on the floor while doing the walls, however I had laid down some clean cardboard, so it was easy to salvage what had fell.  I suspect someone with more experience could do it faster, however you still need to go back twice to clean it up so you need to leave a good chunk of time to do it.

I’ve done two of the ‘mini-units’ they sell at Lowes so far.  I was very happy to find that you can’t see the joints between each day at all.  I’m a bit disappointed with the coverage, although its pretty much in-line with whats on the package.  I originally bought one for the walls and one for the floor,  but its going to end up taking five for the walls and two for the floor.  Not to big a deal, but the stuff is like 25 bucks a unit.  The end result however, looks fantastic.

Tiling is done!

tilefinished.JPG

Well after about a month or so of working on it, we’ve finally finished all the tiling.  I severely underestimated just how long doing all the tiling would take.  Mostly I didn’t realize how irritating cutting the tiles would be.  Laying the tiles in the middle of the walls and floors is really quite simple, however properly measuring, and then properly cutting the tiles for the edges was both difficult and tedious.  Complicate this with the problems I had with my tile saw, and it ended up taking alot longer than I would have liked.  Regardless, the tiles are all in now, and I’m quite happy with how they look.  There are a few that aren’t as flat as I would like, and a few that aren’t perfectly even.  But for our first time laying tile I think we did a wonderful job.

Border Tile

border.JPG

The copper border tiles we ordered finally came in a few weeks ago.  To accent the main tiles we decided to put a 3″ border of tiles around the shower.  We looked around and picked out the Sonoma Tilemakers MoSuprema 1×1 tiles in Heritage Copper.  We really liked the look of these tiles,  the glaze is actually copper and it looks great next to the gloss of the main tiles.  The tiles were extremely expensive though, about $60 a square foot.  Fortunately we only needed three sheets, so it wasn’t to big a deal. 

I was rather disappointed with the tiles when they arrived.  It seems that these days, handmade is just an excuse for poor quality.  On a handful of the tiles, the glaze looked poorly mixed and the tiles really looked quite bad.  A few others looked like they had gotten big nicks in them before they were glazed, and then a significant number of them had ledges on the bottom, such that they wouldn’t lie flat.   I was fortunate to notice the first two problems before installing them, and pick those out.  The last one however made installation quite difficult, and has resulted in some unevenness that I’m not happy about.  The back of the tiles were covered in two layers of paper mesh, which in some spots covered almost all of the back of the tile, and I was worried that they wouldn’t adhere well.  Fortunately after tediously removing one layer, they seem to be ok.   Despite all these problems they do look incredible  and really add some character to the bathroom.