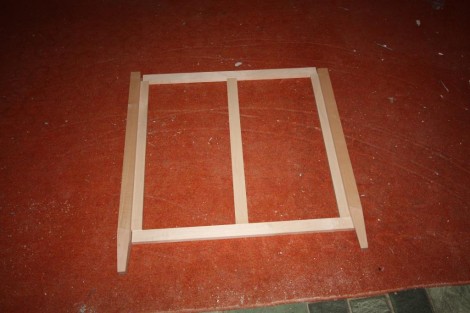
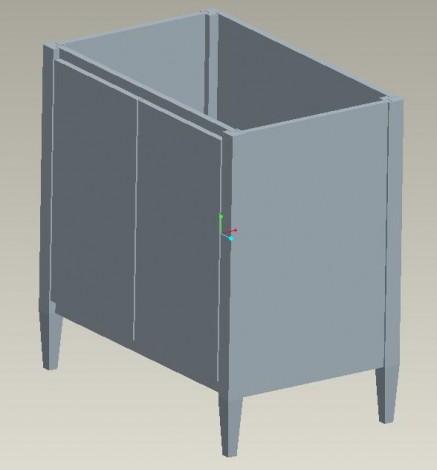
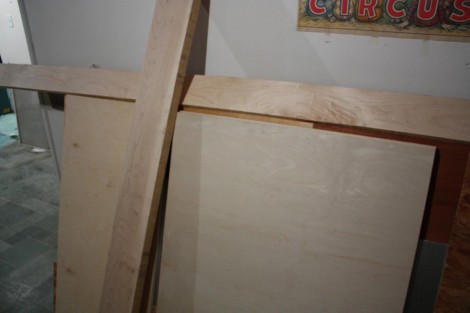
 I’ve dry-fit the face-frame of the vanity together to get an idea how it will go together. I put the face frame together using pocket screws, which seems to be the popular way to do it these days. I thought the Kreg jig was a bit expensive, but I must say it works extremely well. Even for my first time using it, it went together very quickly and feels extremely solid. All of the pieces of the frame are all nice and flush too.
Categories
Links
Projects
October 2024 M T W T F S S 1 2 3 4 5 6 7 8 9 10 11 12 13 14 15 16 17 18 19 20 21 22 23 24 25 26 27 28 29 30 31

