Cutting Trim

I’ve been a bit lax in working on the family room lately, for a variety of reasons.  Firstly we moved the couch and the TV into the room, which of course meant that I could now relax and enjoy my new skylights.  Second, the new TV season has come around and laying on the couch watching TV just seems like more fun.  Regardless last night I finally got off my duff and starting working on the 2nd part of the trim work.  This includes the extension jams for the window, as well as the trim that goes around the pass through to the kitchen.  It’s all been cut, sanded and has a coat of stain on it now.

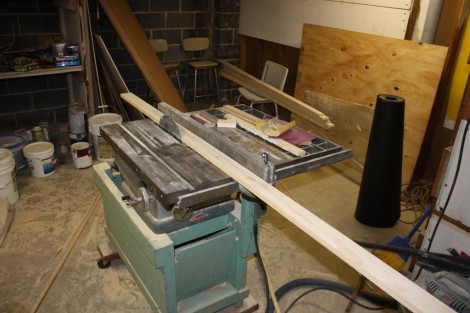
I’ve been using this sturdy Craftsman tablesaw, that used to be my grandfathers.  My mother tells me that he quit smoking for a year to save up for it, and I figure its getting near to 50 years old now.  I bought a nice new blade for, and it works pretty well, however the blade does seem to wobble a bit.  That means the cuts need a bit of sanding afterwards.  I’m not sure if this can be fixed or not, but I’m going to poke around abit and see.
Staining Window Trim

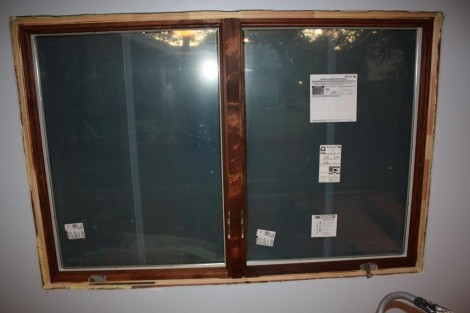
In the past I’ve always painted the trim in the other rooms of the house.  However for this room the wife decided that she wanted the trim to be all stained.   We picked out a nice dark walnut colored stain and proceeded to order all of our windows and skylights in unfinished pine.  I’ve stained pine in the past, and generaly have had good results, although it can get a bit blotchy.  I know you can use a wood conditioner overwash, however that also makes the end result be lighter, and we wanted it to look nice and dark.  All of the other molding we stained turned out acceptably, and the skylights turned out beautifully.  The Andersen window we got was quite the disappointment though.  The main rail looks terrible, and the bottom rails are quite different shades.  I suspect this comes down to the poor qualitly of wood used by Andersen in the construction of the window.    The good news however is that the center rail is acutaly just a trim piece tacked on with a few brads.  That meant that I was able to pop it off, and I can replace it with a higher qualitly piece of wood that should look great.