Tile is done!

tile

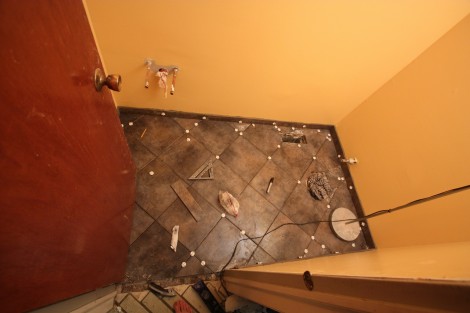
This weekend I got all of the tiling done.  The big tiles means it goes nice and quick, but getting them to be level is also trickier.   I think it turned out pretty well, there are a few spots that aren’t perfectly even, but it shouldn’t be too noticeable.  I’m also hoping that I didn’t cut the hole for the toilet so big that you can see it when I put the toilet in.  I probably should have measured that instead of just eyeballing it.  Next up is grouting!

Spackeling

spackel

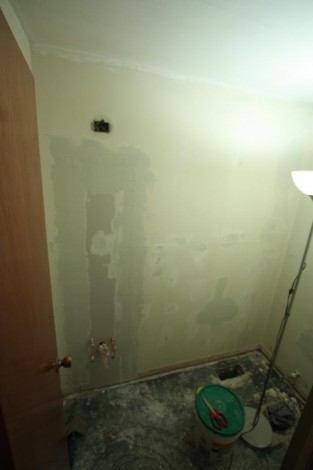
Sorry for the poor quality picture, I was in a hurry to get to sleep and taking decent pictures in that room is nigh impossible.  I’m using the standard green joint compound this time instead of the blue/gray dust control stuff that I usually use.  The green stuff is supposed to be better at skim coating, which I have to do a bit of, and its been awhile since I’ve used it so I figured I’d give it a shot.

Paint & Molding

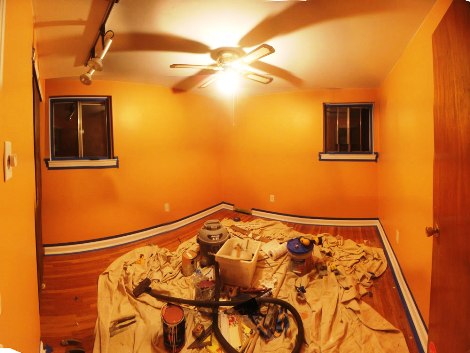
With guests coming this weekend time is short to finish up the room.  So I put up two coats of Tomato Bisque paint on Monday, and on Tuesday and Wednesday I got the molding all put up.  Painting went smoothly  although as always I had difficulty with the top edge.  I’ve used an edger, tape, and just a paintbrush to cut in the top corner, and haven’t really been happy with any of them.  I’ve found the best method is to find a friend who is really good with a brush.  Unfortunately since I was in a hurry I had to do it myself.  I went slowly and used a good brush and I think the results are acceptable.  I also think that in the future I should keep doing it this way as it seems that every time I get better at it.

Since this was the fourth room I was putting molding it went pretty smoothly.  Using a good miter saw, as well as a pneumatic nail gun makes it pretty easy.  However its still quite a bit of work since there are about thirty pieces and each on must be measured, cut, checked, and probably cut again.  In addition there were a handful of coped joints, as well as a few other tricky bits.  I’ve got it all taped now, and am about to paint it.

Primer!

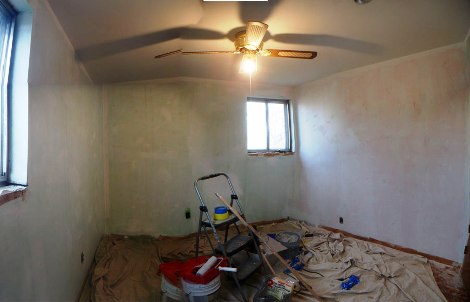
After days of sanding and prepping the walls its finally time to start painting. The first step is of course a good coat of primer. Its possible that I could have gotten away with just two top coats, but with the bright green paint, as well as all the spackel I had put up I wasn’t sure. Besides putting up a coat of primer is quite easy and doesn’t take much time.

The picture is actually a montage of about 15 shots that I took with my little Sony T9, since it doesn’t have a wide enough view to get much of the room in one shot. It turned out pretty well I think.

Repairing the Walls

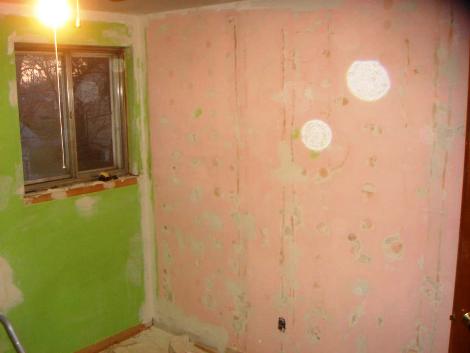
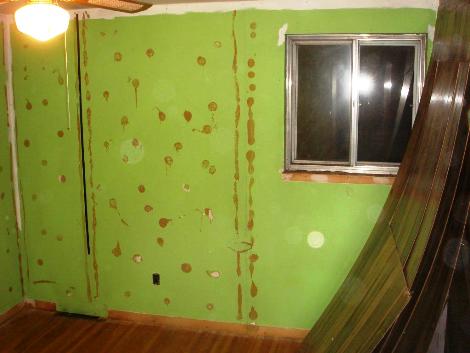
With all the paneling removed the fun part really begins. See in addition to using nails the folks who installed the paneling also used construction adhesive. This kept the center of the paneling stuck to the wall. Unfortunately when the paneling is removed, msot of the adhesive stays stuck to the wall. Since I didn’t want to replace all of the drywall that meant that the adhesive needed to be sanded off. Before I did that I used a block plane to scrape off some of the adhesive, but I couldn’t get it all, and that meant that I spent many house using my random orbital sander, with a 50 grit pad to take down the rest of the adhesive. My wife was nice enough to help out and do some sections, but it still took forever.

Once the adhesive was all gone, the next part was to patch up the walls. Some spots got sanded down a bit to much, and in a lot of spots the adhesive actually pulled the paper off the Sheetrock. There were also some large holes in two places, that required a new piece of Sheetrock be patched in. All of this meant another few days using lots of joint compound, and sanding some more. Ohh and don’t you just love the green and pink walls?

Paneling Removal

Removing wood paneling seems quite simple at first.  You just take a pry bar and pop it off the walls.  The glue doesn’t hold very well and the nails are small and easily pull through the wood.  Unfortunately since this was the 2nd room I was doing (the first was Jess’s office), I knew that getting the paneling off is the easiest part.   Once its off, you have to scrape and sand the glue off of the wall, and then spackel up all the holes.  Disposal of the paneling is also a pain, since the 4×8 sheets don’t easily fit out the door,  and the garbage men won’t take them.   To do that I stacked the sheets up, took my trusty reciprocating saw, and cut them into pieces small enough to fit in a box that I could put out at the curb.  Wasn’t overly difficult but it made a huge mess and the wood splinters like crazy.

Guest Room

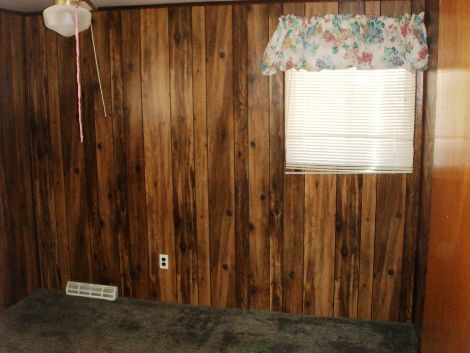
This isn’t really the best picture, but its the only one I had of the guest room before we ripped the carpeting out. When we moved in the guest room was walled with wood paneling and had a very dark grey carpet on the floor. The carpet was pretty beat and underneath there were some nice hardwood floors in decent shape. So right away we decided to rip up the carpet and chuck it. We then moved into the room and used it as our bedroom while we were redoing the master bathroom. Once that was finished and the room was vacated we tried to figure out what to do to the room. The problem is that its a very small room, and the wood paneling is very dark (as well as being quite dated). The room does have two windows but they aren’t very big, and therefore the room always feels like a cave. So clearly the paneling has to go. With the other big projects coming up we can’t afford to replace the windows right now, so they’ll have to stay. Also since we’ll be takign down the paneling we’ll need to replace all of the molding.

As an aside I actually started ripping down the paneling in December, but never got around to posting it.